Diaper Pail Liner Tutorial
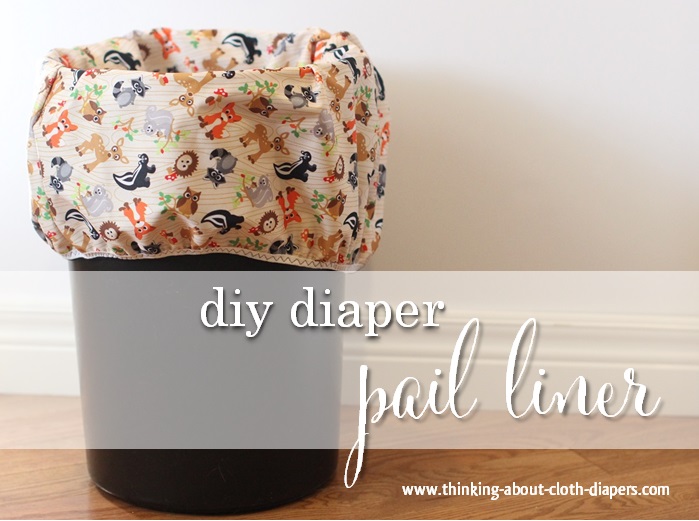
Save money with our quick and easy diaper pail liner tutorial. We've got photos, dimensions, and instructions to help you sew a storage bag for your baby's cloth diapers.
Pail liners are waterproof bags that are used to hold dirty cloth diapers until laundry day. Once your pail is full, you simply pick out the liner, carry it to the washing machine, and turn it inside out to dump the diapers into your washer. Once it's empty, you can throw the bag in, too. Because you'll end up with one bag in the wash, it's always best to have 2 pail liners.
The catch to pail liners is cost! Buying a pail liner will cost between $15 and $20 depending on brand, but you can make them for much less! The materials required to make 2 pail liners (1.5 yards of PUL and a package of fold-over elastic) will cost you $15-16 from Amazon.com or another fabric store.
The Tutorial
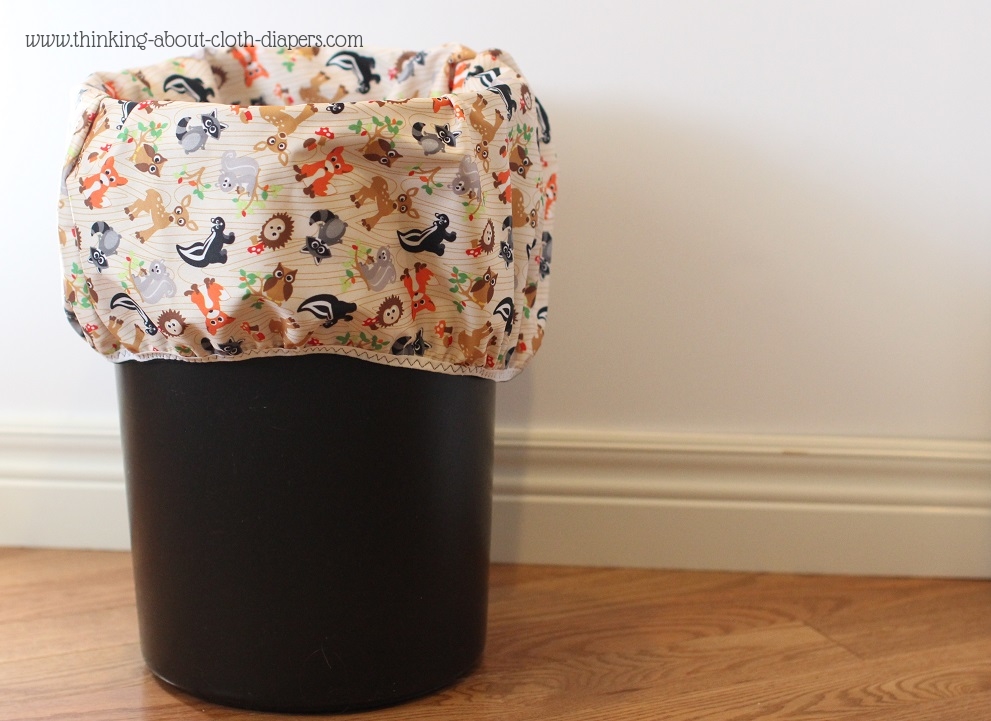
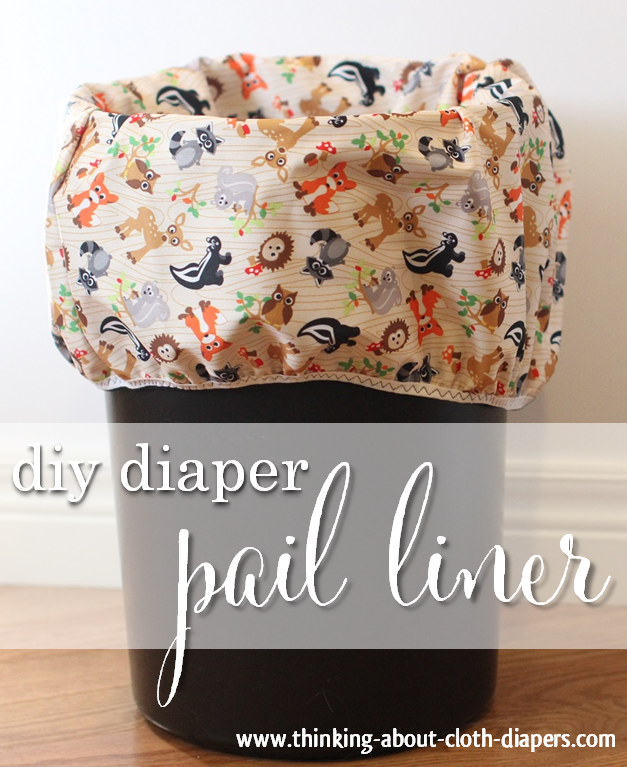
This tutorial shows you how to sew a diaper pail liner with a snug elastic cuff at the top, just like the one in the photo below. By altering the dimensions as required, you can also follow this tutorial to sew reusable trash can liners - perfect for your bathroom or bedroom, too!
If you are already familiar with PUL and fold-over elastic, this is a quick and easy project - you could complete a pail liner in a half hour or less. If you're new to working with fold-over elastic, check out our fold-over elastic article for some tips and tricks.
Materials Needed to Make a Diaper Pail Liner:
- 56x22" piece of PUL fabric (this tutorial features PUL fabric from Babyville Boutique's Forest Friends line)
- 1 package of fold-over elastic
- Polyester thread, scissors or rotary cutter & cutting board
Note: PUL fabric is a laminated polyester knit. The laminate makes the fabric water-proof, which is perfect for diaper pail liners! I have worked with several different brands of PUL, and the PUL from Babyville Boutique is one of my favorites. It can be purchased from Amazon.com and most fabric stores for affordable prices, it comes in lots of great prints and solids, and it's got a really strong high-quality laminate. Because of the quality, I often feature Babyville Boutique fabrics in our tutorials, and this one is no exception. To find out more about Babyville Boutique, check out these two articles below:
Also note: It's best to choose polyester thread (rather than cotton!) for several reasons: cotton can "wick" moisture, it may be weakened over time due to prolonged exposure to urine, and it can also retain odors.
Instructions to Make a Diaper Pail Liner
Cutting the Fabric
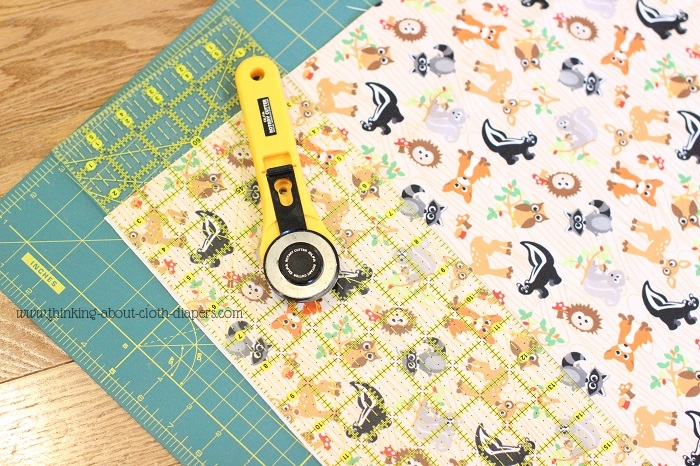
A rotary cutter and a self-healing mat will make quick work of the cutting, but you can use scissors if you don't have this equipment. Taking care to square up your fabric, cut a rectangle with the dimensions 22x56". This will result in a pail liner similar in size to those made by AppleCheeks and Blueberry Diapers. If you have a different size of diaper pail, you can customize these dimensions to any size you wish.
Using your diaper pail as a guide, stretch the fold-over elastic around snuggly (make sure there's some tension in the elastic, it should be stretched a bit!) and then trim with a seam allowance. This will ensure that the liner doesn't fall into the pail once you start putting diapers in.
Sewing the Pail Liner
Fold the fabric in half, and stitch up both sides, leaving the top (opposite from the fold) open. This will create a bag. Whether you fold the laminate side or the print side together only depends on your personal preference. With solids, it doesn't matter as much. I opted to fold the "print" side in on this bag, so that when it was finished the print side would fold out over the pail, showing off the Woodland Animal print. With solids, it doesn't matter as much.
I have a serger, so I ran a simple seam using polyester thread. If you don't have a serger, I suggest using a French seam to create a better "seal" on your pail liner's seams so that they don't leak. Craftsy has a good French seam tutorial here.
Once you've sewn the side seams, you're ready for the gussets. Now, keep in mind that gussets are totally optional! That said, gussets are easy to add, and they will help your pail liner to fit your diaper pail better. If you're not familiar with gussets, here's a photo of the finished gusset. It creates a fitted corner to the bottom of the bag, and provides a really professional look!
To make a gusset, open your side seam so it forms a triangle, with the seam running at a 45 degree angle to the corners. Believe me, this is easier shown (below) than it is described! Then, using a cutter or your scissors, cut away the triangle. After examining the pail liners I had (Swaddlebees, Blueberry, AppleCheeks), I decided to trim off 2.5 inches on either side of the seam, resulting in a (roughly) 5" gusset at the bottom of my pail liner.
Once trimmed, sew this seam in a similar manner, either with your serger or a French seam.
The next step is to add the fold-over elastic cuff to the top of your pail liner. First, take both ends of the elastic and stitch them together, back-stitching across the full length a couple of times.
Next, stretch and stitch the elastic around the top of the pail liner. I don't have a photo of this step because I find that it is very hard to take photos while working with fold-over elastic! As I mentioned in our fold-over elastic article, to stitch the fold-over elastic in place, I like to use a multi-stitch zig-zag. This will allow the elastic to stretch into place, and it provides a nice professional looking edge. If you use a solid colored elastic and matching thread, the little slips that are bound to happen (at least in my sewing room!) will never even be noticed!
Note: I have seen some pail liners made with an encased elastic tube (similar to the top of a pair of sweat pants). If you don't like working with fold-over elastic, this is a completely acceptable alternative!
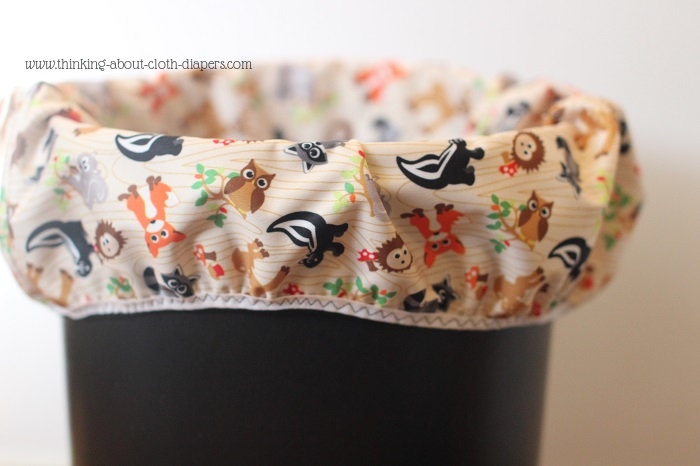
Below is a close-up picture of my new pail liner inside my diaper pail. I LOVE these little critters, and the color scheme works so well with my son's nursery!
If you're planning to use your cloth diapers outside your home, you should also have a couple of wet bags. Making these is a great way to use up scrap pieces of PUL, and have so many uses beyond just carrying wet diapers! For instructions on how to make a zippered wet bag, check out our tutorials here:
- 20 Minute Zippered Wet Bag
- Lined Wet Bag Tutorial (more advanced)
Do you plan to make your own pail liner?
Let me know below! If you try out this tutorial, I would love it if you would post photos of your diapers on our Facebook page!
Go to top of Diaper Pail Liner Tutorial
Disclosure: I did not receive any form of compensation in exchange for this tutorial. Babyville Boutique provided me with sample fabric for the purpose of this review. The opinions expressed in this post are entirely my own, and your experience with the product may differ from mine. I only recommend products or services I use personally and believe will be good for my readers. This article may contain affiliate links. I am disclosing this in accordance with the Federal Trade Commission’s 16 CFR, Part 255: “Guides Concerning the Use of Endorsements and Testimonials in Advertising.” For more information, see our Disclaimer and Copyright.
Sponsor Love
For information on cloth diaper fabric and pattern suggestions, go back to Making Cloth Diapers.
At Thinking About Cloth Diapers, we offer reliable, up-to-date cloth
diaper research to save you time so you can get on with the other things
you want to do.
Return to Thinking About Cloth Diapers homepage.
