How to Make a Zippered Wet Bag Tutorial
If you know the basics of sewing, you can make a zippered wet bag in less than an hour. I've created an easy tutorial with step-by-step instructions.
Zippered wet bags are an essential cloth diaper accessory, perfect
for carrying wet diapers when traveling. They can also be used for wet
swimsuits and other gear! It is quick and easy to make a zippered wet
bag, and they make great gifts!
Buying a large travel wet bag can set you back more than $20, while a
yard of PUL and a yard of cotton, plus a few zippers will cost between
$15 and $20, and with this you should be able to make at least 3 or 4
large wet bags. A good place to find PUL is Soft n Natural Fabrics or at Joann's.
Materials Needed to Make a Zippered Wet Bag:
- 2 pieces of PUL (15x17")
- 2 pieces of cotton fabric (15x17")- pre-washed (see note below)
- 1 scrap of cotton fabric for strap (4x15")
- 1 14" zipper - I like the fine-tooth zippers
- Coordinating polyester thread
- Clip (optional)
- Sewing machine, preferably with a zipper foot
Be sure to pre-wash and dry the cotton on hot before you start, since
your wetbag will be washed with your diapers, and you don't want it to
shrink later.
If you're not sure where to buy PUL, Amazon.com has a good selection of affordable PUL fabrics, or check out our other cloth diaper fabric store suggestions.
Instructions to Make a Zippered Wet Bag
On 15" side of fabric, center and pin zipper in between PUL and cotton, with right sides of cotton and fabric side of PUL facing. The straight edge of the zipper tape should align with the edge of the fabric and PUL. The tab of the zipper should face the cotton fabric. Pull the zipper tab down to the bottom before stitching.
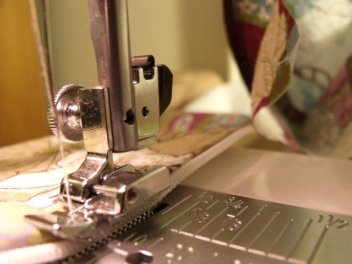
With a zipper foot, sew through all layers close to zipper teeth. Note: Zipper teeth will be hidden as they are sandwiched between cotton and PUL layers, just feel with your fingers, and set your needle into the fabric about 1/8” away from the zipper teeth.
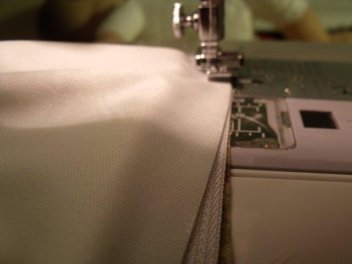
After stitching the length of the zipper, smooth cotton and PUL fabric out. It should look like the photo.
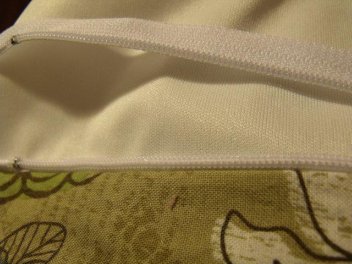
Bring wrong sides of Fabric and PUL together, then top-stitch next to zipper as shown below.
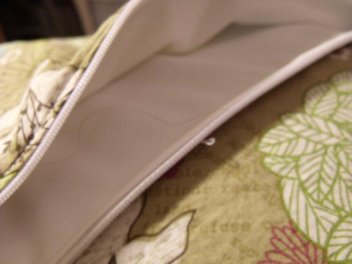
Repeat to insert zipper into opposite side of bag.

It should look something like this.
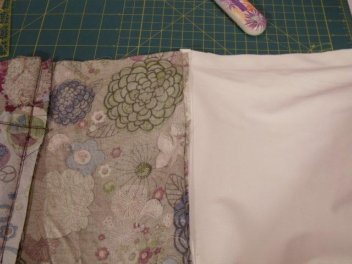
Now that you've sewn in the zipper, it's time to sew the bag together. To start, open material up, so that PUL material is right-side together, and cotton is right-side together on either side of the zipper, like this. Be sure to un-zip the zipper at least half-way before you start, or you will not be able to open up the bag when it is all turned! (Trust me on this, it's much easier to leave the zipper open than it is to attempt to open it or rip open your seams to fix it later!
Sew around 3 sides of PUL with a 7/8" seam allowance.
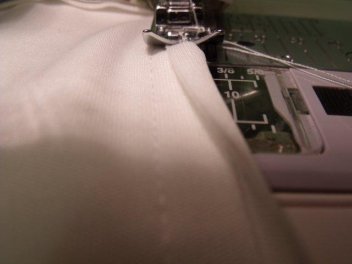
I like to finish the PUL seams with a French seam. To create a French
seam, sew the 7/8" seam allowance first, then trim the top layer back
half-way. Next, fold the edge of the bottom layer over top, and run a
second seam, as shown below. I think this prevents wicking of moisture
through the seams.
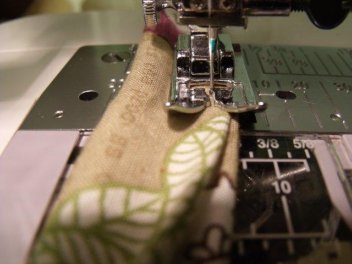
Construct the strap for the bag. Fold strip of fabric lengthwise, right sides together, and sew with a 1/4" seam allowance, as shown in the photo.
Turn fabric. Optional: Topstitch ¼” from edges of strap.
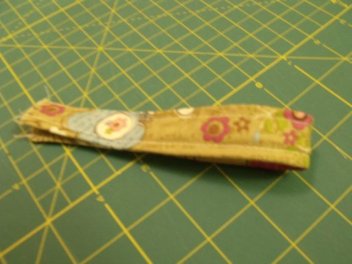
Fold strap in middle to form "loop". If you wish to add a clip to your strap, thread it on to loop now. A clip can be a great addition so you can hang your wet bag from your stroller. In this instance, I left the clip off because since I discovered the Mommy Hook, I have just looped my wet bags onto the big hook on my stroller instead. If you haven't heard of the Mommy Hook, I highly recommend it!
For the following steps, it is best to have the zipper zipped half way up, or you will not be able to open up the bag when it is all turned!
Lay the bag flat so the laminate sides of PUL are facing each other and the right sides of cotton are facing each other. About 1” down from zipper tape, insert strap handle between the cotton layers of the bag, align the raw edges of strap with the edges of the cotton sides. Pin in place.
PUL Section of Bag: Finish the PUL section of the bag with a modified “mock” French Seam. First, stitch around the three sides of the bag with a 7/8” seam. Trim the top layer of the PUL seam allowance to 3/8”.
Fold the wider untrimmed seam edge of PUL over the cut edge of the PUL you trimmed, then sew it in place as shown in the photo. Do this for all three sides of the bag.
Now, stitch the two non-loop sides of the cotton bag with a 1/2" seam allowance.
Sew loop into place on the third side (I like to back-stitch for extra reinforcement) - but don't sew this side all the way closed. Leave an opening at least 4" long so that you can turn your wetbag.
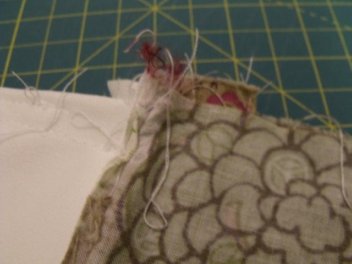
Turn your wetbag through the opening. Now is when you will be glad you unzipped the zipper before you sewed the bag together!
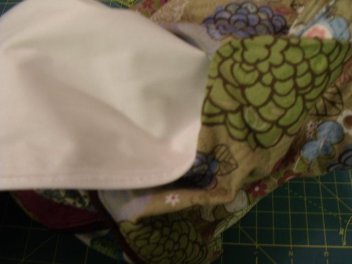
You can now close the opening, either with a blind stitch by hand, or with a top-stitch on the machine. I used my sewing machine.
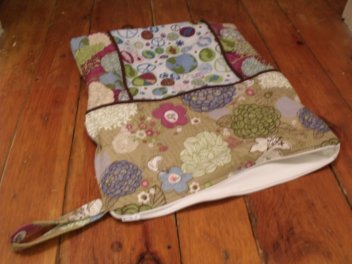
Voila, you now know how to make a zippered wet bag!
For a simpler wet bag tutorial without a lining, check out our 20 Minute Wet Bag tutorial here!
As you can see, you can dress your wet bags up to suit your own personality. On this wet bag, I stitched together a few scraps of fabric, and added some piping details between the seams. I did this before I started making the wet bag, so I had 2 completed cotton pieces that were 15x17".
If you're feeling especially ambitious, you can even make a zippered wet bag in a matching, smaller size(finished dimensions roughly 6x9") for moist facecloths, so you can use reusable cloth wipes when you travel, too!
You may also like:

Wool Dryer Ball Tutorial
Wool dryer balls will save you money and soften your clothes naturally. Follow our simple tutorial to make yourself a set of dryer balls in under an hour, for way less than you can buy them!
For more do-it-yourself cloth diapering projects and tutorials, go back to Making Cloth Diapers
At Thinking About Cloth Diapers, we offer reliable, up-to-date cloth
diaper research to save you time so you can get on with the other things
you want to do.
Sponsor Love


